

Can Car Batteries Be Refurbished Or Rebuilt?
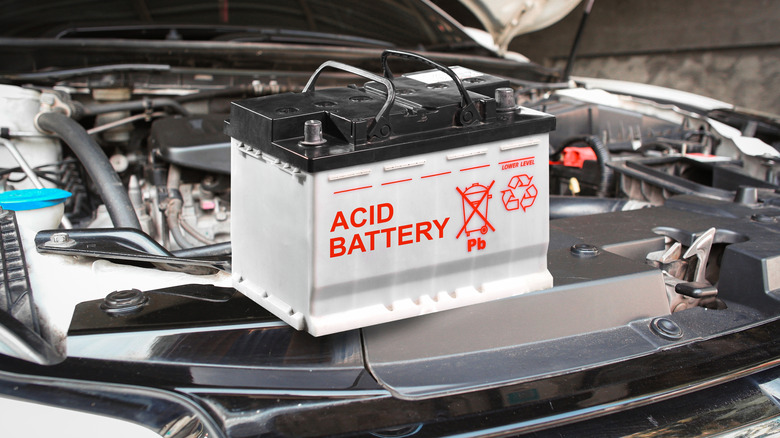
Given the current state of the global economy and seemingly endless job layoffs in the United States, many of us may not be able — or particularly eager — to drop a couple hundred dollars on an unanticipated expense. But sometimes life doesn't care about your financial issues and plops an expensive issue right into your lap. If you're trying to save some money but your car's battery dies, I have some good news for you if you're willing to do a little chemistry: You can, in fact, refurbish most flooded lead-acid 12-volt car batteries at home.
There are three things that can disqualify your lead-acid battery from being safe to refurbish. If your battery has heavy corrosion on its metal surfaces, if its voltage is significantly below 10 volts, or if it has visible physical damage like cracks or bulges, you likely need to buy a new one.
On car batteries, corrosion manifests itself as a white, blue, or green fluffy or crusty buildup on the metal terminals or cable clamps. A small amount of corrosion is easy to clean off, but a battery with excessive corrosion may require replacement. (This does not apply to lithium-ion batteries or sealed AGM or gel cell batteries.)
If you're planning to refurbish your battery, you'll need protective gear like safety goggles and chemical-resistant gloves, as well as tools like a battery charger, a wire brush, a small funnel, plastic buckets, and a flathead screwdriver. You'll also need distilled water, a towel, and at least a pound of both Epsom salts and baking soda.
Here's how it's done, according to JD Power
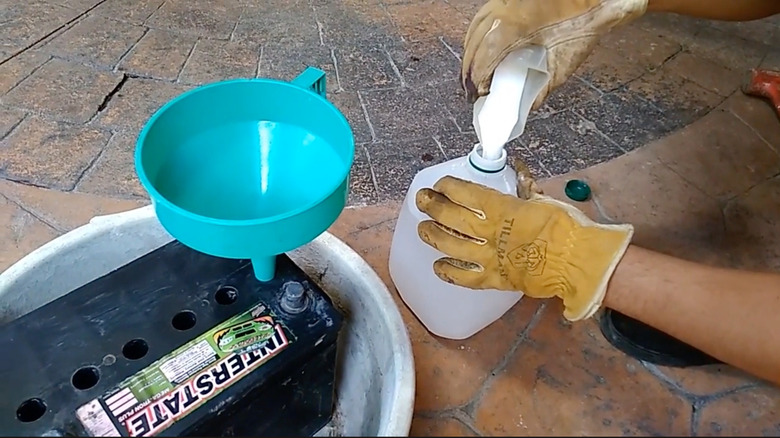
If you're trying this at home, please wear protective gear and work in a well-ventilated area. Once you've established those safeguards, the first step to reconditioning your car battery is preparing the cleaning solution that will clean out the battery's internals. That includes mixing baking soda and distilled water in a 2:1 ratio. The mixture should form a white liquid paste.
Step two is removing any corrosion from the posts using a toothbrush or small wire brush. Once you've scrubbed them clean, rinse the terminals with a little fresh water and dry them thoroughly.
Step three: Make sure your voltage is close to 10V, since you'll need to replace a battery that's degraded too far. Step four is dumping the old acid, using a flathead screwdriver to gently pry the battery cover off and carefully pour the acid into a bucket. Add baking soda to the old acid to neutralize it before disposing of it at a hazardous materials recycling center.
Step five: Clean the battery cells by using the funnel to pour the soda-and-water solution from step one into each battery cell, closing the cells, then shaking it vigorously for several minutes before dumping the waste into a bucket.
To replace the acid, pour about 4 cups of distilled water into a clean bucket, and mix it with 4 ounces of Epsom salts. Stir the solution until it turns clear, then pour the solution into each cell. Leave the cell caps open, connect the battery to a charger, and set it to charge for 12V at 2 amps for 24 to 36 hours. Finally, re-cover the cells and test the battery with a multimeter. A successfully reconditioned battery should read between 12.4V and 12.6V, so if that's the case, you're ready to go. If it's still below those readings, charge it for another 12 hours.