A 3-Button Garage Door Opener Can Be Used For More Than You Think
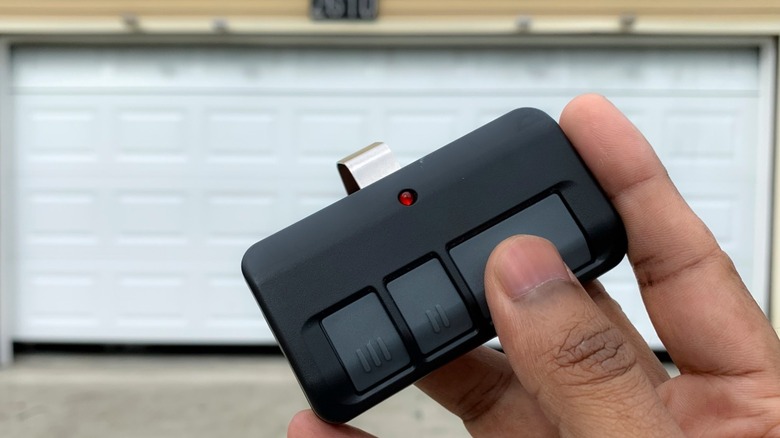
Those of us of a certain age know from dealing with three-button suits and button fly jeans that sometimes things come with more buttons than you really need. Though some car brands are now rethinking touchscreens and bringing back physical buttons, there are still buttons on our TV remote we won't touch because we're afraid of "messing something up." So you might be looking at your three-button garage door remote control and wondering what those two other buttons are for when the remote itself came with only one garage door opener.
But don't dismiss those two extra buttons. They can be programmed to control things you actually use, and they won't get in the way of anything important. If you're only using your garage door remote to open the door, you're only using a third of its power.
For example, do you have multiple garages or garage doors? You don't need multiple garage door remotes, just combine them into your three-button remote. Do you have a gate that opens by remote? Your three-button garage door remote can be used for that, too. You know how the control panel on your wall for the garage door opener has a button that only controls the light? Your remote can do that too, if you program it. But the power of your three-button garage door remote isn't limited to controlling things on the outside of your home. It can be used to turn on the lamps that are inside your home, too. You can also use your remote to program the HomeLink buttons in your car to have the exact same capabilities. So make sure to use your three-button garage door remote to its full potential by using all the buttons. It's all part of the path to the ultimate control you deserve.
Open a second garage door
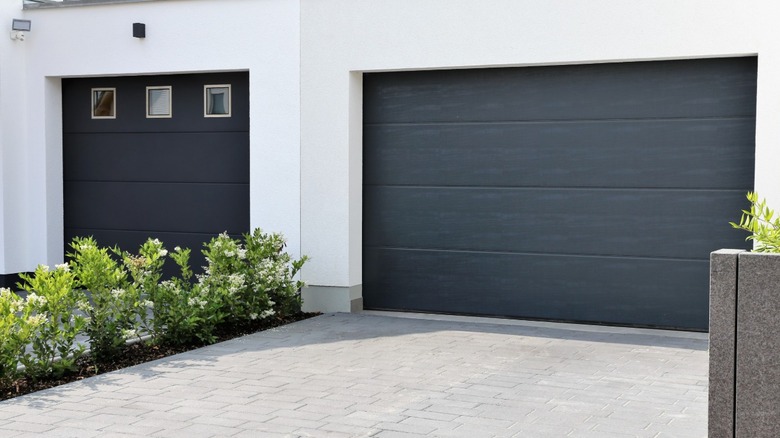
Sure, your remote has reliably opened the garage door at your primary residence. But what about the garage at your vacation home in the Hamptons? Everyone has one of those, right? Actually, we'd have trouble pointing to the Hamptons on a map and would barely be able to afford the map, let alone a house there. But we're sure that there are plenty of people, not just the super-wealthy, who have more than one garage door to open, even on the same house. Why not put them all on one opener, instead of carrying multiple openers in your car?
Some remotes are compatible with multiple brands of garage door openers, but they are usually compatible with multiple models in the same brand. Many manufacturers' remotes will open most of their models made since the 90s, and this is the primary reason the two additional buttons were introduced to garage remotes.
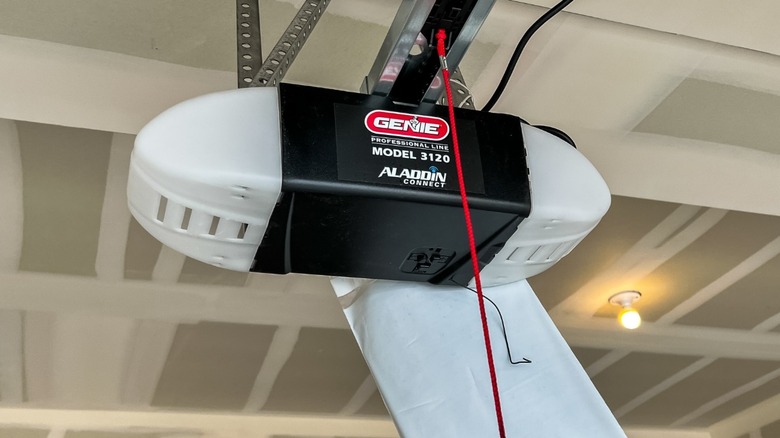
How do you set this up on your remote garage door opener? Well, you'll want to check with the manufacturer for specific instructions for your model, but there are some steps that are common to most brands. First, you'll want to clear any existing codes in the opener, so look for the "Learn" or "Program" button. Press the button and hold it down until the LED light goes off. Press the same button again briefly. The LED light should come back on. While the light is still on, press the remote button that you want to use for this opener. You may just have 30 seconds to do this. You'll know it worked if the lights on the opener flash or the opener itself clicks. Now, test the button. Again, your opener's process might be different, so check the instructions from the manufacturer.
Open a driveway gate

If you have a driveway gate, maybe one of your routines when getting in your car is fishing around for the gate's remote. Did you know that your garage door remote control can also open remote-controlled gates? After all, why should garage doors have all the fun? If you have a sliding or rolling gate that can be opened remotely, reserve a button on your garage door remote for it.
Again, the process is easier if your gate operator is the same brand as your garage door opener. But it doesn't have to be. LiftMaster, for example, makes remotes that are compatible with multiple other brands. Otherwise, if you have garage door openers and gate operators of non-compatible brands, you might look into getting a universal remote.
Set up for basic gate operators is similar to that for garage doors. Press and hold the "Learn" button on the gate operator. At the same time, press and hold the button you want to use on your remote control until the LED light flashes. Then test the button. The process is a little more complex if your operator has a keyless entry keypad. Check with your manufacturer to find the exact steps. What if you have an old operator with a Dual Inline Package (DIP) switch? You'll need to open both the remote and the operator control panel to find a small row of switches near the battery. Make sure the switches in the remote match the ones in the operator control panel. This will sync your remote control with the gate operator. Just remember to check these guidelines against those from your manufacturer. We should also note that these instructions are for conventional RF remote controls, not Wi-Fi controllers, which are vulnerable to hacking.
Toggle the overhead lights in your garage
It's nice to have a light come on in your garage as soon as you open the door. It just feels safe. And besides, you wouldn't want to stub your toe on that exercise bike you moved to your garage even though you totally plan to use it someday.
But maybe you'd like to turn the light off or on yourself. Maybe you crave ultimate power. Fortunately, your remote is ready to give you that ultimate power, allowing you to dedicate one of your buttons solely to the lights. But what about the light button that's already on the wall console? That's fine if you're standing next to the door panel, but what if you're eight feet away, sitting in your vehicle? You don't have ultimate power if you can't control your garage door light at all times.
So how do you assign one of the extra buttons on your remote to the overhead lights? What you need to do is to make sure the garage door is closed and then stand near the panel on the wall. Press the button on your remote you want to assign to the light and keep it pressed down for the next steps. While you're doing that, press the button for the light on your wall console and keep it pressed down. Now take your third hand (sorry, but they want you to press a lot of buttons at once) and press the lock button on your wall console. Keep it and the two other buttons pressed down until you see the garage door opener's light flash or blink. Now test the button. Again, the specific instructions for your remote may differ, so consult with the manufacturer.
Integrate it with lamps inside your house

As you can see, your three-button garage door remote gives you plenty of control. But control of garage doors, gates, and overhead lights is just not enough. Well, did you know that you can turn on your home's interior lamps with your three-button garage door remote? All it takes is purchasing an accessory like a relay receiver or a plug-in light control module. LiftMaster makes the MyQ Internet Gateway Accessory for this purpose. It's designed to work with your remote or wall panel, and can alternately be programmed via the Internet.
Why on Earth would you do this? Maybe for the same reason you don't like coming home to a dark garage at night. You can turn on the lamps in your house before you even open the door. It's great for safety and for those adults who are still afraid of the dark (we're not here to judge).
Set up is usually pretty simple. Plug in your module or universal relay into a wall outlet. Check that the relay or module is rated for the voltage of the lamp that you want to control. Plug your lamp into the module, and turn the lamp on. If the module or relay has a "Learn" button, press it. Typically, an LED light will turn on or flash. Press the remote button you want to use. The LED light may flash to indicate it reads your remote. Test to see if it works. Again, these are very general instructions, so check the owner's manual for your module or relay. But using your remote for these things can be smart, unlike greasing your garage door track.
Program the HomeLink buttons in your car
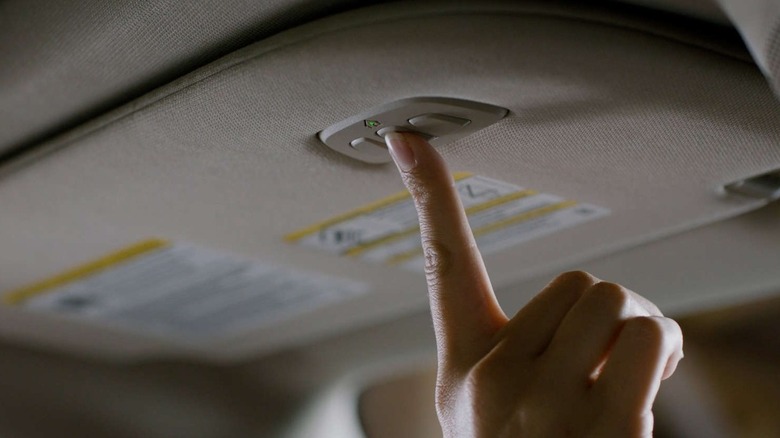
By now, you must be pretty impressed with yourself. You've taken a simple remote control for your garage door and turned it into a complex, multi-function device that can control anything you want it to. Actually, you're limited to three things, and they have to be powered or plugged into a receiver. Still, so much power in the palm of your hand. But your path to ultimate control is not finished, young Padawan. You know those three buttons on your rearview mirror or overhead console, just sitting there, unused? Well, they can be programmed to control the same devices as your three-button garage door remote, replacing it completely. And it's a lot less intrusive than letting Alexa into your car.
There is plenty of documentation online about how to program your HomeLink buttons. According to the "generic" instructions on the HomeLink site, you'll want to start programming your first HomeLink button by clearing any programming from the HomeLink buttons by pressing and holding the outer two buttons until the indicator light changes from flashing to solid. Skip that step when programming the other two buttons. Now hold your remote 1-3 inches away from the HomeLink buttons. Press and hold the HomeLink button you want to program and the matching button on your remote until the HomeLink light changes from flashing slowly to solid or rapidly flashing. Now, press the HomeLink button to activate and test it. If you have an older, rolling code device, there are more steps you'll need to follow.
As you can see, there are plenty of uses for your three-button garage door remote control. So don't let those two extra buttons go to waste! Get to programming them.