

Simple Car Mods You Can Do Yourself Ranked By Difficulty
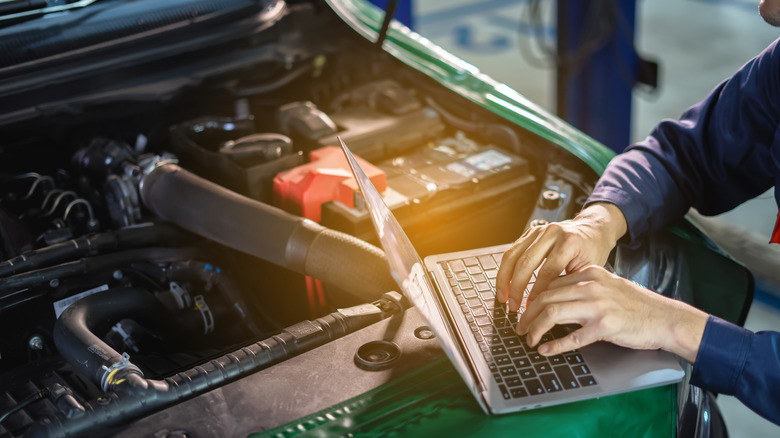
If you're an automotive enthusiast with a car, there's a fair chance you're going to feel like modifying your vehicle. However, if you've never dipped your toes into modifications, it can seem intimidating.
Modifying a car at a basic level often doesn't need a garage stocked with workshop-grade tools, a weekend of grease-stained knuckles, years of mechanical know-how, exceptional fabrication and welding skills, or biting your fingernails over whether your warranty will be void.
Plenty of useful car mods require basic supplies that you likely own, including, but not limited to, masking tape, a heat gun or hair dryer, and a ruler. Moreover, many of the mods below are fairly inexpensive. As a beginner car modifier, you can enhance your car's exterior with decals and-or a rear spoiler, protect yourself from harsh sunlight with window tints, and even bump up performance (albeit mildly) with a cold air intake. You may also prefer a minimalist exterior, which can be achieved through modifications like debadging.
Debadging
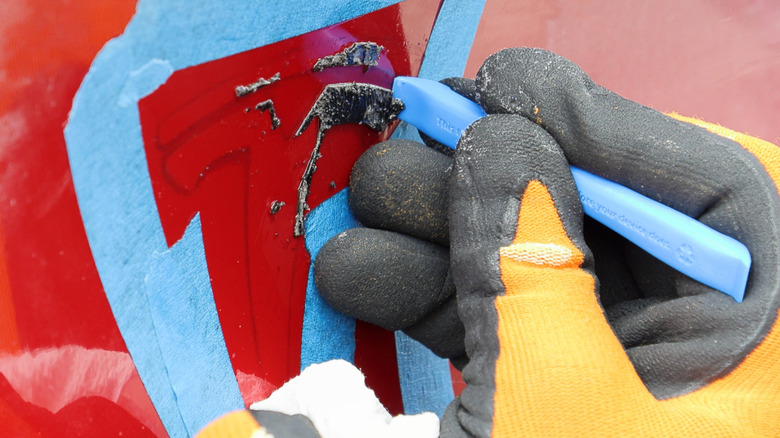
Many cosmetic exterior mods require little more than basic hand tools and a steady grip, and debadging falls into this category. Automotive enthusiasts typically debadge for a cleaner exterior or to conceal their vehicle's trim level. While concealing a car's trim level might seem strange, some owners of higher-end variants, for example, may debadge to avoid flaunting their wealth or to reduce the car's likelihood of being stolen.
To strip your car of its badges, you'll need a heat gun or a hair dryer, a fishing line or dental floss, and automotive adhesive remover like Goo Gone. Warm up the badge you want to remove — along with its surrounding body panel — with your heat gun or hair dryer, which loosens its factory adhesive. Next, slide your fishing line or dental floss behind the badge to cut its bond. Lastly, peel the badge off, and clean leftover residue with a small amount of adhesive remover like Goo Gone before wiping the debadged area with a soft cotton towel.
Keep in mind that some older cars may have badges attached by clips, screws, or pegs. If you remove such badges, you could end up with a few exposed holes on the bodywork, which obviously won't look good.
You can use original equipment manufacturer websites or other online resources like eBay to confirm which types of badges your vehicle has. Just search for your model's replacement badges and access photos. You'll be good to debadge if product images show the badge's back as completely flat.
Stickers and decals
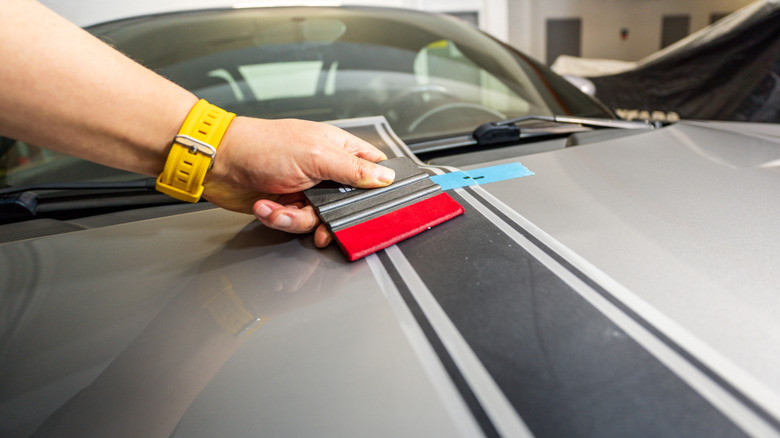
Stickers and decals can lend your car a sportier touch, reflect your personality and interests, or advertise your business. They aren't that difficult to apply, either. All you need is a squeegee, a mild detergent or car cleaning solution, two clean microfiber towels, a sharp pin, isopropyl alcohol, masking tape, a heat gun or hair dryer, and a ruler or measuring tape.
To apply one, start by washing the targeted body panel with mild detergent or a car cleaning solution. Next, remove soap residue by thoroughly rinsing the area, then dry using your microfiber towel. Soak your other microfiber towel in isopropyl alcohol before applying the solution to the panel. Let the surface air dry for 10 minutes or so. Isopropyl alcohol helps ensure a lasting bond. After the alcohol dries, use your ruler or measuring tape to measure the decal and its designated area. Apply masking tape to form a frame around your preferred area.
Peel the sticker/decal backing paper, align it with your frame, and stick it on. Work a squeegee from the center outward to smooth out air bubbles; puncture air bubbles (if any) with the pin before reusing the squeegee, and you're done. If your sticker or decal has transfer tape, gently peel its top transfer layer off at a 45-degree angle from one corner to finish your application.
If you're dealing with a large sticker or decal, you can follow the wet-application method. Spray the intended area with a healthy amount of warm soapy water, peel off the decal's backing paper, and place the decal on the wet area. This will let you make small adjustments to the placement before the sticker or decal fully dries. Once the placement is to your satisfaction, start squeegeeing water from the center out, then use the heat gun to dry the decal.
Spoilers
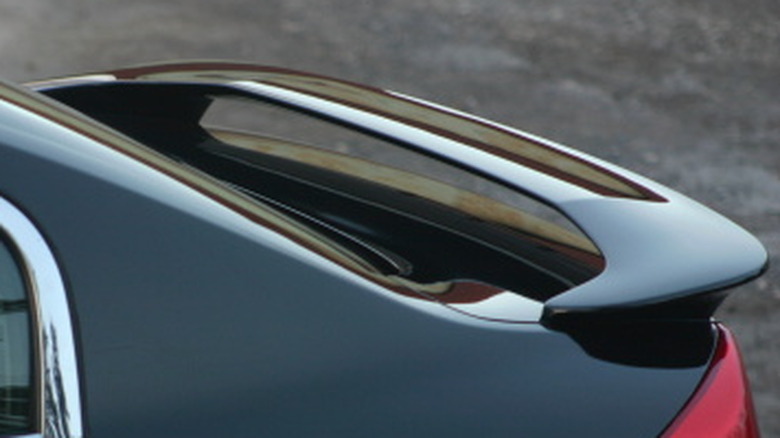
Many aftermarket spoilers can be attached with strong double-sided tape, but some may require you to drill holes in the bodywork and use bolts and studs for a more solid fixture. First-timers should stick to the first type of spoiler, so that's what we'll focus on.
Installing a spoiler requires masking tape, a paint-safe surface cleaner or isopropyl alcohol (IPA), a microfiber towel, a heat gun, and disposable gloves to prevent skin oil from contaminating the surface. An adhesion promoter is also recommended to ensure a strong bond between the spoiler and bodywork.
Installation can take upwards of half an hour. Clean the trunk or hatch application surface area with your surface cleaner or IPA before wiping it down with a microfiber towel. Repeat this cleaning and drying process once.
Spoilers may come with pre-applied mounting tape, or require you to apply the tape yourself. In the latter case, 3M VHB double-sided tape is recommended. Apply it on the borders of the spoiler's base points, leaving a 3mm minimum distance from the spoiler mounted surface edge.
Next, dry-fit the spoiler and mark its mounting points with masking tape. Apply a small layer of adhesion promoter where the spoiler tape will make contact with the trunk and wait a few minutes.
Peel an inch off the spoiler's tape backings and fold them outward to make pull tabs. Align the spoiler with the masking tape, apply light pressure to set its position, and gently pull the tabs out, ensuring that the spoiler doesn't shift around.
If you're working in cold weather, warm up the surface and mounting tape with a heat gun or hair dryer to optimize bond strength. Secure the spoiler by applying firm pressure for a minute or two. Once it's in place, don't wash the car for two days, and avoid driving in rain or at high speeds during that period.
Aftermarket air filters
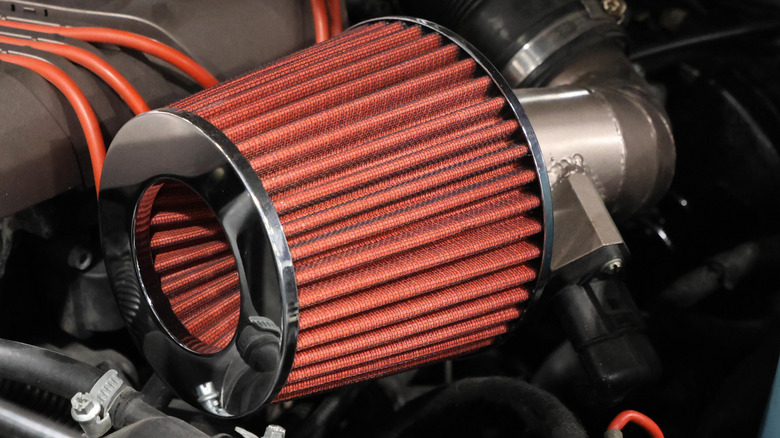
If you're comfortable with progressing beyond cosmetic mods, an aftermarket air filter improves engine intake airflow, providing a slight performance gain. While the horsepower increase is negligible, any heavier future modifications, like a turbo upgrade, benefit from more air. First-timers should consider either performance panel (or drop-in) filters or cold air intakes.
Drop-in filters are usually the same size and shape as your stock air filter, enabling a quick installation: open your air box by loosening the clamps or metal screws (or unlatching the metal clips), take the stock filter out, fit the drop-in filter in place, and close the air box.
You can also install a cold air intake. One of the downsides of cold air intakes is that they're more complex to install than drop-in filters since they replace the factory assembly. Let's evaluate this process' general steps.
Disconnect the negative battery terminal and locate the mass airflow (MAF) sensor on the intake tube. Some vehicle wiring harnesses feature a color-coded secondary locking slide that must be pulled back before the release lever depresses. Press the wiring plug release lever to remove the plug from the sensor, and unscrew the sensor. Then, transfer the MAF sensor (only touching its plastic exterior) from the old factory housing into a designated slot on the new intake tube. Loosen the clamps on the existing air box and tube, remove them, and fit the new tube and filter per the kit's instructions. Lastly, hook the battery back up. All clamps and couplers must be perfectly tight, and the MAF sensor needs to face the right direction.
A common mistake with cold air intake installation is placing it too close to the engine, where it pulls in hot air and delivers little to no performance gain. Cold air intakes also shouldn't be mounted too low due to water ingestion risks.
Window tints
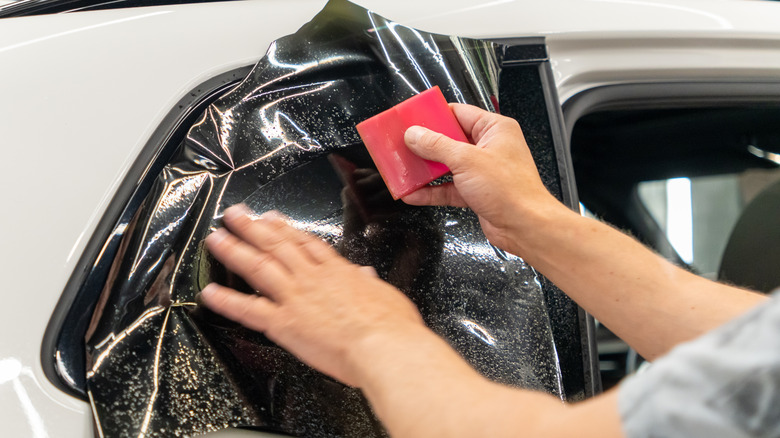
If you feel hesitant to tint your windows, it's best to cough up some cash and get the tinting done professionally. That said, if you feel confident in your skills and the cleanliness of your workspace, applying tints can take up to three hours. Get a sense of the general process below.
Start by rolling the window down slightly and cleaning both sides with warm, slightly soapy water (you'll need around a gallon). Scrape dirt and grime with a one-inch razor blade (never on back windows) before drying both sides with a clean microfiber cloth. Then, mist the outside of the window with your mild soapy water, and apply the film with its liner still on (facing toward you) to make a rough cut.
Cut a manageable portion of film (a few extra inches on all sides) with a blade, spray the front of the film with mild soapy water, stick it onto the window, and trim from the bottom and sides. Roll down the window slightly to trim the top edge.
Use a squeegee from the center outward to facilitate a smooth fit. A moving heat gun and hard card allow you to push bubbles down; just make sure you run the heat across the window's bottom. Next, mist the inside of the window with your soap solution, peel off the tint backing, spray the exposed adhesive side with soapy water, gently place the film on the glass, and smooth it out with your squeegee. Roll the window up completely and use a hard edge to finish the bottom section.
Every state sets its own limit on how dark a window tint can legally be, so it's worth checking local laws before proceeding. Excessively dark tints can also impede visibility while driving at night, so make sure you don't go overboard.