

Here's How To Clean Your Engine Cylinder Heads At Home
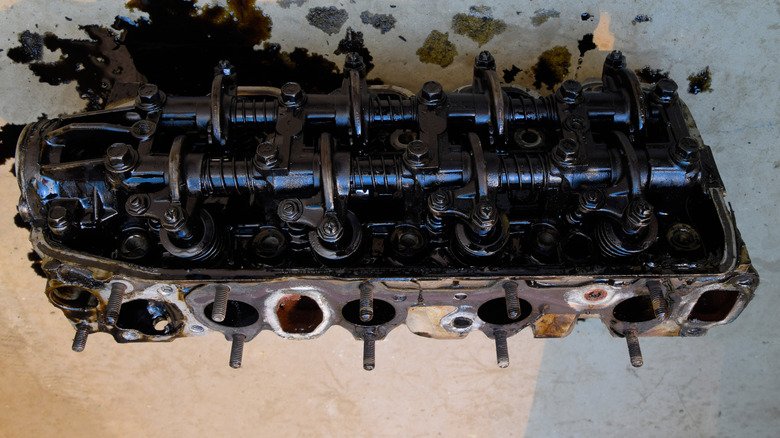
If you have ever stared at a disassembled engine, you might have noticed that the cylinder heads looked like they were pulled out of a tar pit. Decades of baked-in oil varnish, carbon scaling, and decayed head gasket residue have turned a piece of high-performance engineering into a crusty hunk of metal. It is one of those engine parts that are most susceptible to carbon buildup. If this were your project car's disassembled engine, the head would have to be spotless clean for the engine to run at its best.
You could drop them off at a local automotive machine shop and pay a professional to hot tank them or blast them with specialized media. However, if you are a true DIY enthusiast, you'll agree that there is a deep satisfaction in restoring mechanical components with your own hands. Cleaning your cylinder head at home is completely doable, but it requires patience, the proper chemical tools, and a clear understanding of the metals you are working with. Fun fact: You can also clean fuel injectors yourself.
Cleaning an engine cylinder head requires a fair number of steps, starting with setting up a safe workstation. Then, you'll have to tear down the cylinder head, degrease it and scrape off the gunk, and give it a thorough wash. The final steps include drying the head and inspecting it before reassembly. Whether you are dealing with classic, heavy cast iron or delicate, modern aluminum, doing this job right ensures proper gasket sealing and prevents destructive pre-ignition, and it gives you a fresh canvas for a reliable engine rebuild.
Setting up the workstation and safety precautions
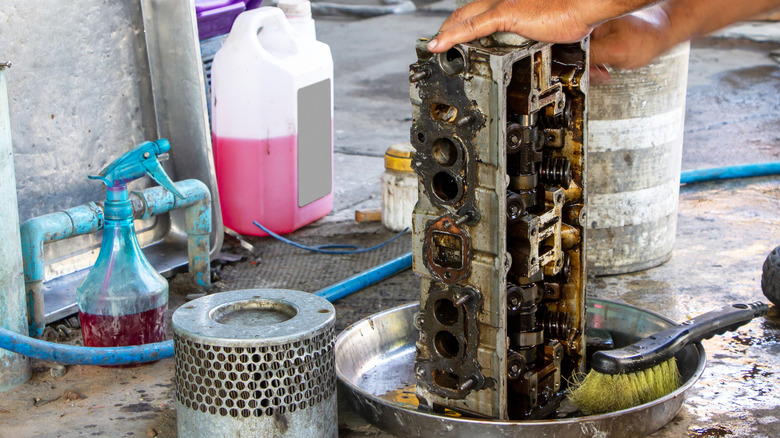
Before you start working with a chemical degreaser, you need to set up a workspace that can handle a massive influx of toxic slurry. The combination of dissolved engine varnish, old fuel deposits, and heavy-duty cleaners creates a nasty mixture you don't want pooling on your driveway or staining your garage floor. Grab a heavy-duty plastic folding table or workbench, put down several layers of thick cardboard, and place a large plastic storage bin on top to act as a wash basin. You want a designated area where you can capture runoff without ruining the surrounding environment.
Equally important is personal safety equipment. You are going to be interacting with volatile solvents that can irritate your eyes and burn your skin. Put on a pair of chemical-resistant gloves. Standard medical gloves will not work, as their thin membrane will tear against the sharp edges of a cylinder head casting. Use wraparound safety glasses because a stray bristle from a brush flicking toxic cleaner directly into your eye can ruin your weekend in a jiffy.
Make sure your workspace is exceptionally well-ventilated, especially if you are working in a closed garage. Crack the main door and set up a fan to push the fumes outside. Once your perimeter is secure, you can begin the teardown and cleaning process.
Teardown and material diagnosis
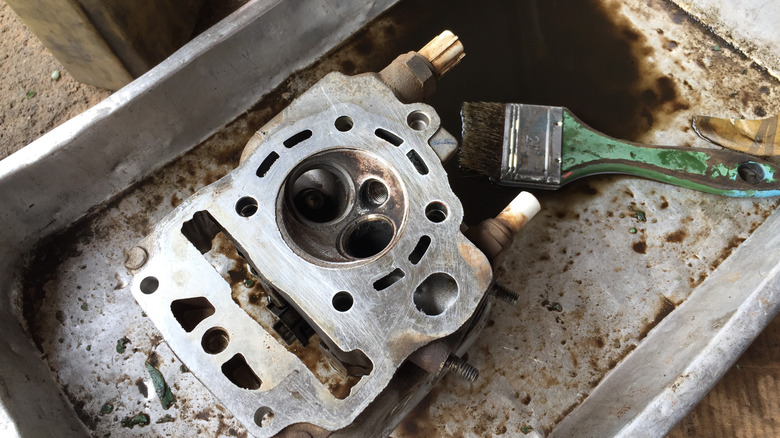
You cannot effectively clean a cylinder head if it is still fully assembled. Trying to wash a head with the valves, springs, retainers, and valve stem seals intact is a recipe for trapping dirty water and corrosive grit in places where it will cause catastrophic wear later. Use a dedicated valve spring compressor tool to compress the springs, and systematically remove the springs and valves. Keep everything meticulously organized. Map them out by cylinder using an old egg carton or a labeled cardboard box so every single valve goes back into the guide it spent its life settling into.
Once the head is stripped to the bare casting, look closely to determine exactly what metal you are holding. This will decide your cleaning strategy. If you are working on a vintage cast iron head, you have a rugged piece of iron that can handle aggressive scraping and heavy-duty chemical attacks. However, if your car features a modern aluminum head, you are dealing with a much softer, highly sensitive alloy. Aluminum will scratch, gouge, and erode with the slightest pressure. Strong alkaline cleaners or harsh caustic chemicals can damage aluminum, turning it into a pitted mess, while aggressive steel scrapers can ruin the flat mating surface.
Dealing with crust: scraping and degreasing
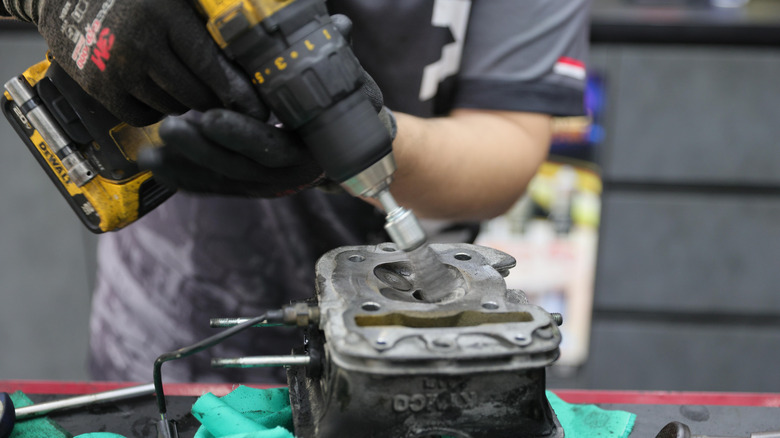
With the valves out of the way, you can now attack the worst of the physical buildup. The exhaust ports will likely be lined with a rock-hard layer of carbon crust, while the mating surface will be covered in petrified gasket material. If you have an aluminum head, put down the steel razor blades, and pick up a plastic gasket scraper or a cleaner soaked scuff pad. Carefully work your way across the deck surface, lifting the old gasket fragments gently while keeping the tool completely flat to avoid gouging the metal. For the tough carbon inside the exhaust ports, a brass wire brush works wonders. It can get to the hard to reach places, while providing just enough abrasive power to break up the carbon without chewing into the metal.
Once the heavy chunks are loose, it is time for the chemical wash. Drench the entire casting in a dedicated heavy-duty engine degreaser (use a dedicated cleaner for aluminum heads) or spray it down with brake cleaner. Let the chemicals sit on the surface for a six to eight hours so that they can penetrate the varnished oil channels and oil return galleys. Grab a stiff nylon detail brush or an old toothbrush and scrub every single nook, cranny, intake runner, and coolant passage until the grease breaks down into a fluid sludge.
The final rinse, inspection, and prep for assembly
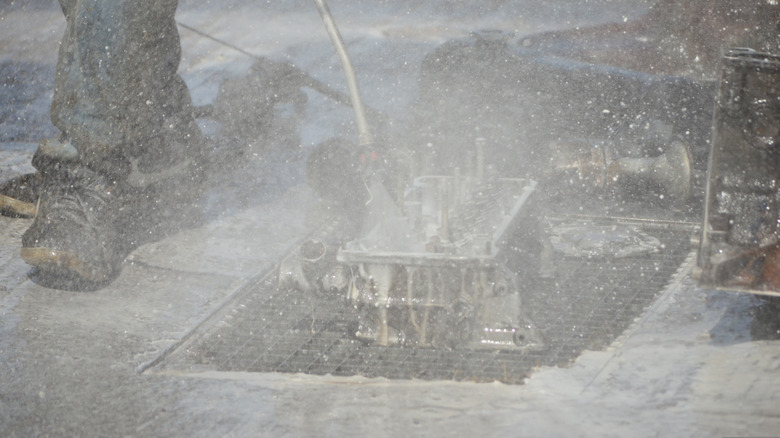
After the soak, haul the cylinder head out of its bath for the final rinse. You need to wash away every single trace of cleaning chemical and dislodged grit. If you have a pressure washer, use it to blast out the intake and exhaust ports, coolant passages, and bolt holes. If not, a standard garden hose with a high-pressure nozzle will do the trick. The moment you finish rinsing, blow the head completely dry using compressed air. Pay special attention to the valve guides and threaded holes where trapped water can hide. If it is a cast iron head, immediately spray it down with a light coat of WD-40 or thin engine oil, because bare iron will develop a layer of orange flash rust within minutes of hitting dry air.
Now that the metal is clean, perform a meticulous visual inspection. Look closely down the valve ports and across the combustion chambers for any hidden hairline cracks that the old grease might have been masking. Your cylinder head is now perfectly clean, dry, protected, and ready to be reassembled with fresh seals, valves, and a brand new head gasket. It also helps to know when to replace or reuse engine parts, like cylinder head bolts.