

Here's How To Turn Your Bicycle Into An E-Bike To Beat High Fuel Costs
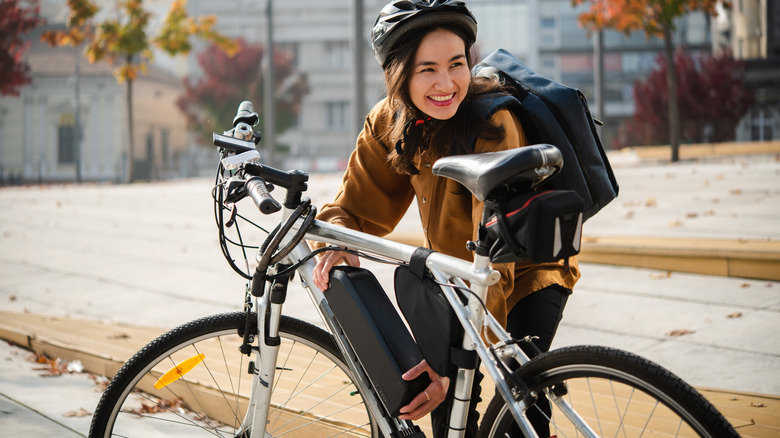
When you boil it down to basics, you need three main components for an e-bike conversion: the motor, the controller, and the battery. Assuming you already have the bicycle, of course. Depending on how you want it set up, and how much you're willing to spend, and how much power you want out of it, you could completely convert your own bicycle into a hybrid human-and-electricity-powered commuter in the space of an afternoon.
There are thousands of kits available on your favorite online marketplace, most with incomprehensible names from Chinese manufacturers, to choose from. Or you could piece together your own with junkyard parts and a bit of ingenuity. It all depends how involved you want to get, and how handy you think you are.
There are myriad reasons you might desire making an electric bicycle of your own instead of going out and buying a pre-assembled electric assist bike. Maybe you're a tinkerer with a penchant for kitting things together. Maybe you don't see the point in buying something new when you can adapt something you already own. Maybe a new four-figure price tag on an shiny e-bike has turned you off the idea. Whatever your motivation, the market provides. And with the national average price of a gallon of gasoline hovering just over $4, every day wasted is a dollar lost.
You'll have to decide for yourself what you need for power, range, and comfort, but I'll try to lay out all of your options to make that choice a little easier. Get ready to jump into the deep end, we're building e-bikes for frugal commuting.
A variety of conversion kits
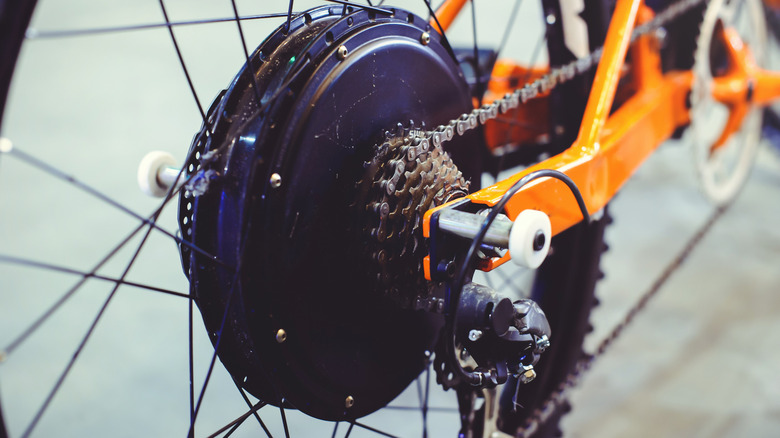
For most do-it-yourself kits, a hub motor is the easiest way to update a standard bicycle to e-power. This style replaces a wheel of your bicycle with a motor mounted in the center. This is usually less expensive and easier to install than the alternative mid-drive motor, which replaces your bike's cranks with an electric motor you can still pedal.
You can choose between front and rear wheel drive for these kits. A rear-driven hub motor is generally more powerful, provides better traction, and is easier to ride. The downside: Installation involves taking apart the drive chain and shifter mechanism, which adds time and complication. A front-drive kit is easier to install, as it simply fastens to the fork and most of your time is spent mounting the battery and thumb throttle. If you aren't used to a front-driver, though, it can get away from you with anything but judicious application of throttle. Front drive kits typically aren't as powerful as the rear-driven motor kits, which is probably wise for safety purposes anyway.
A mid-drive kit is the hardest to put together, as it requires removing your bike's crankset and hard-mounting the motor. It's also the most expensive. Once installed, though, this is the best handling option as it keeps the weight between the wheels and works in tandem with your pedaling.
Buying a kit from a known quantity like Bafang will get you everything you need, but the price can balloon quickly.
Kludge it together yourself
There is another style of motor that is even sketchier than a front drive hub, and that's the friction motor. This style of motor mounts a drive wheel directly in contact with the tire, pressing into the outer diameter and rolling it forward. It's a tried-and-true method of propelling your bike forward, but it gets wonky in the wet and can cause premature tire wear.
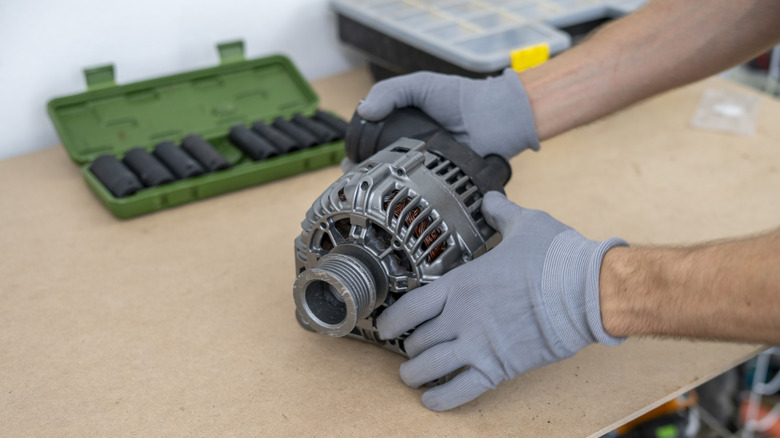
You also can build an e-bike powered by an old car alternator from the junkyard. Much like BMW's city scooter uses a 3-series alternator, you can use pretty much any alternator to power your bike. It's easiest to mount an alternator as a friction drive unit, but the nicest way to make this work is to use the alternator motor as a solid-mounted chain drive either sharing a chain with your pedal power, or adapting a second chain ring to the other side of your bike's rear wheel (as in the video below). Both methods require fabrication, as you must figure out a drive hub and mounting system for the motor. It will also look more like a science experiment than a modern drive kit, and will be a bit heavier.
If your entire goal is to save money, the DIY route is going to be best for budget. Let's say you have $100 invested in this setup, reasonable depending on the controller and batteries you use, you only really need to use this bike enough to offset the purchase of 30ish gallons of fuel. After about 900 miles of riding you've paid for the cost of the bike. Obviously, the more you spend on your bike, the more miles you'll need to do in order for it to have been worth it to your bottom line.