

How To Fix A Sagging Headliner Without Ripping It Out Or Paying A Shop
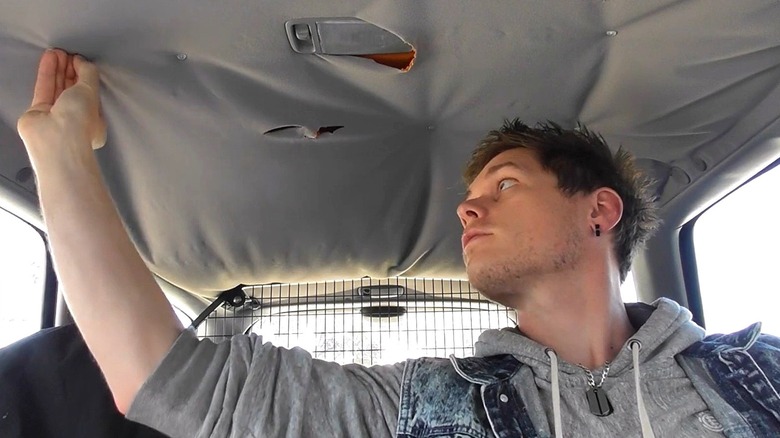
It may surprise you to learn that most writers for automotive websites do not live a rich and glamorous lifestyle. Shocking, we know. There have been times when cars didn't start to become affordable to us until they had already outlived all their warranties. That means most of us here know the frustration of riding around with ceiling fabric falling on our heads. So, what's the answer when your car's headliner starts sagging? Do you have to rip the whole thing out or even take it to a shop? Let's face it, if we had money to throw around like that, we probably wouldn't be driving a car that old in the first place. Fortunately, there are fixes you can try before resorting to paying a pro to take care of it.
There's the tried-and-sometimes-true thumbtack method — sticking pins into the fabric to keep it attached to the foam backing. In some cases, a clothes steamer can heat the glue up enough to bond again. Double-sided tape can sometimes be used as well, while cloth-covered snap rivets can leave a headliner looking like it never had to be fixed in the first place. They also make spray adhesives that are specifically designed for headliners. Some of these fixes don't look great, and most are only temporary solutions that you may find yourself doing more than once. But at least you might save yourself the cost of paying to replace your whole headliner for a year or two.
Use a quality spray adhesive to repair the headliner
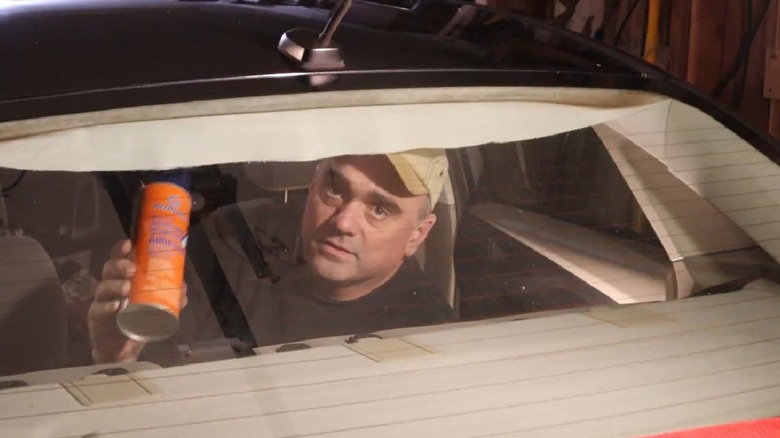
In our opinion, using a spray adhesive is probably the most effective way to fix a headliner without ripping the whole thing out — especially if you catch it before the sags have gotten out of hand. If you're having to move the fabric out of the way just to see out of the windshield, you're probably too late on this one. The trick is to pick an adhesive that's actually made for fixing headliners, since it needs to stand up to the oven-like temperatures in a hot car. 3M is famous for making individual spray adhesives for very specific purposes. True to form, the company sells a Premium Auto Headliner Adhesive and, according to the label on the can, its "exceptional strength bonds heavyweight automotive fabric and foam headliner materials." Permatex also makes a Heavy Duty Headliner Adhesive, which can withstand temperatures up to 170 degrees Fahrenheit.
Before applying the adhesive, make sure to vacuum up any loose foam or debris. To apply the adhesive, carefully pull the edge of the fabric down where it is sagging. Spray the adhesive evenly on the fabric and the foam. Wait a few minutes for the adhesive to get tacky, then press the fabric onto the foam, evening it out with a roller or using a credit card as a squeegee — or use an actual squeegee if you have one. Leave it alone for a few hours to fully cure, without turning on the climate control.
Use double-sided tape between the headliner and the roof
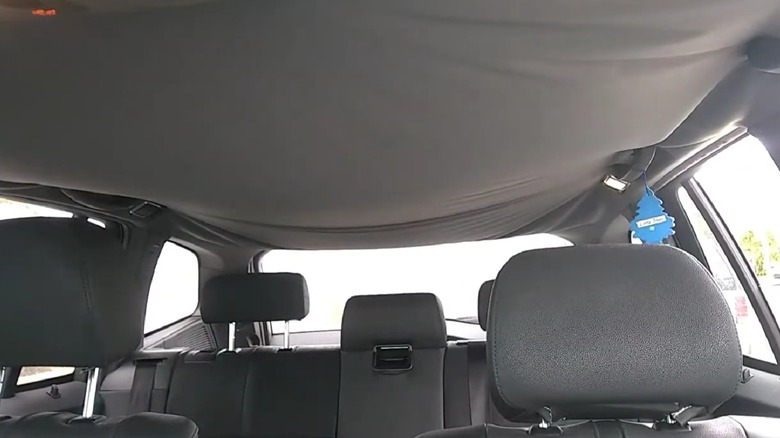
Foam-backed fabric may be the most common, but it's not necessarily the best material for a headliner because it tends to separate after a while. One way some people fix this problem is to attach double-sided tape between the fabric and the board. This could be an effective method if the sags are along the edges of the ceiling or near the rearview mirror. Once again, there are specific products for this. Austen Tapes Direct – a company in the U.K. — touts its Automotive Headliner Attachment tape using terms like "stress dissipation" and "viscoelastic properties." We have no idea what those terms mean, but the company does say that its tape will "accommodate thermal expansion and contraction", which is important.
Just like spray adhesive, a tape needs to be able to maintain its bond in extremely high temperatures if it's going to work inside a car. Whether you buy tape from this company or some other brand, make sure it is made to work with foam and fabric, and that it can withstand hot temperatures. To apply the tape, make sure that the foam and fabric are both dry and dirt-free. If the tape you're using has a liner on one side, apply the non-liner side to the foam. While the tape liner is still on, apply equal pressure to the whole piece of tape. Peel the tape liner off, then stretch the headliner fabric and press it evenly onto the tape. This is best done at room temperature.
Try a garment steamer or hair dryer and a roller on the headliner
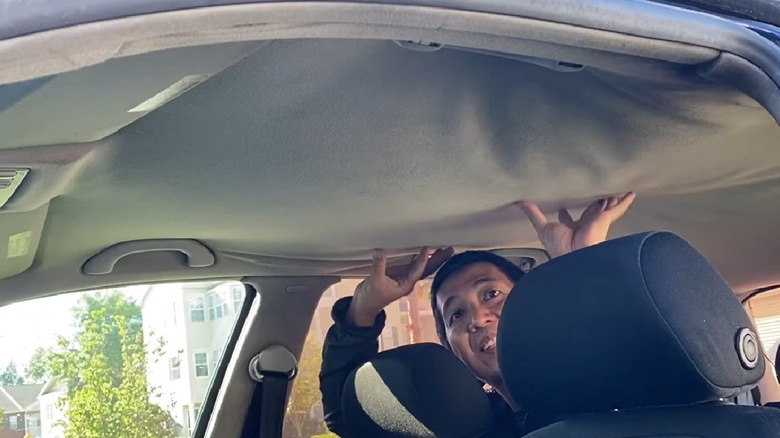
Glue dries out as it ages, causing the fabric on your car's ceiling to get all droopy. Sometimes, you can reactivate the glue and bond the headliner with the backing again with some concentrated heat. There are a couple of ways to do this. One way is to use a handheld clothes steamer; another way is to use a hair dryer. You probably have at least one of those items lying around the house. Both methods are worth a try because you don't have to peel back the fabric or try to access the area behind it.
Start with a small area and heat the glue up. Don't spend too long on any one spot, because you don't want to burn the fabric or shrink it. Once that's done, use a new, clean nylon paint roller to flatten the fabric against the glue. You could also use something hard and flat, like a credit card, to do this. In our experience, this is not the method that is most likely to work. But it works sometimes, and it's worth attempting because it's quick, easy, and doesn't require removing the headliner. So, give it a try and see what happens.
Pins, thumbtacks, and staples work well for headliners
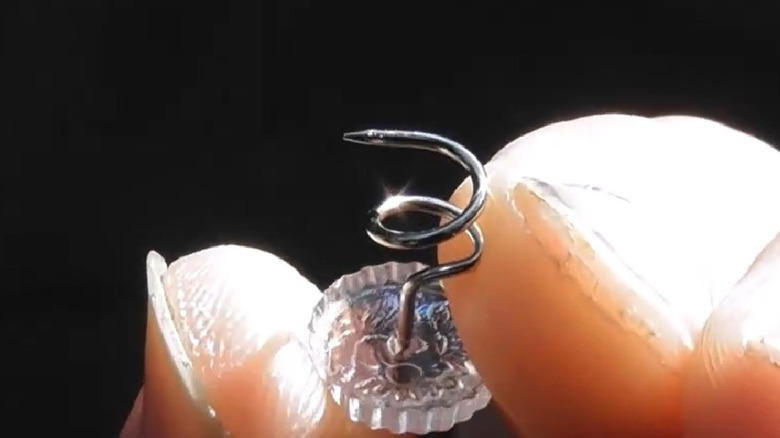
Ah, the old "stick a bunch of thumbtacks in the liner to keep it up" trick. It's genius — of course, until the fabric takes down the tacks, and now you've got sagging fabric with a bunch of tacks in it, or even worse, a seat full of tacks just waiting for you to sit down on. We've found it's better to use longer straight pins that allow you to sort of pierce the foam sideways and keep the pins and fabric in place. But wouldn't you know it: They make tacks for this purpose. They're called "twist pins" or "headliner repair fasteners." They have a sort of corkscrew shape, which keeps them from getting worked out of a headliner. So, you might look into using them instead of the traditional thumb tacks, and your rear end will thank you, too.
Alternatively, if you have a staple gun, you could staple the fabric in place. Keep in mind, this is a very temporary solution. However, the fact that they make products for this problem specifically shows just how common it is. Kia even recalled the Borrego because of it. A note of caution: You'll want to look out for rear windshield washer hoses or wires that might run along the liner. You wouldn't want to puncture those. Be especially careful if you have side curtain airbags. Steer clear of where they deploy by limiting pins or tacks to the middle of the ceiling.
Use snap rivets for a clean and interesting headliner repair
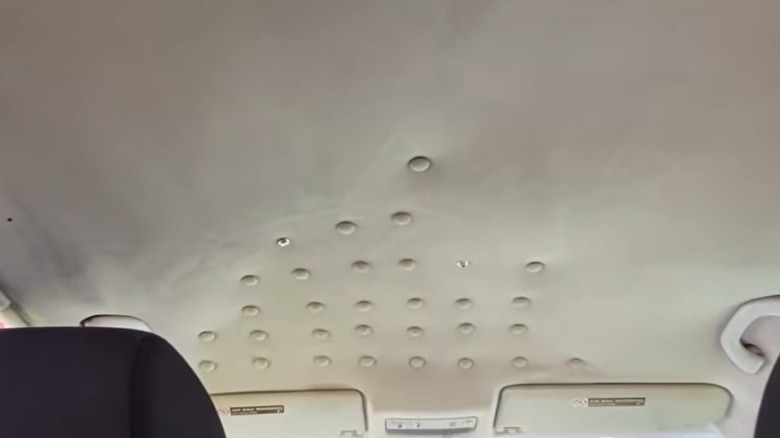
We love this method because, if done right, your repair can look like your headliner came out of the factory looking like that. Headliner repair kits with snap rivets incorporate the idea of pinning the fabric back in place, but use screws and cloth-covered buttons that can make your headliner look like buttoned upholstery instead of some raggedy, worn-out fabric in a run-down hoopty.
This method is pretty simple, too. You start by measuring out a grid across your car's ceiling. A lot of kits come with a tape measure and push pins for this purpose. Measure spots about 4 to 5 inches apart. Push the rivets into these spots and screw them into the foam, pinning the fabric against it. Then snap on the cloth-covered buttons, which can be bought in a color to match your ceiling, and
voilà: You've got a natural-looking buttoned-up ceiling. And your friends who ride with you will be none the wiser.
It's important to note that none of these fixes will work if the foam backing for the headliner is not intact. If it's crumbling or disintegrating, there's nothing to attach the fabric to, and you'll just have to rip out the whole thing. You can tell if it's all in one piece by just pushing into the headliner with your thumb. As long as the foam is fine, you've got options. While you're at it, check out our guide on removing stains from headliners.