How To Get The Most Out Of Your Headlight Restoration Kit
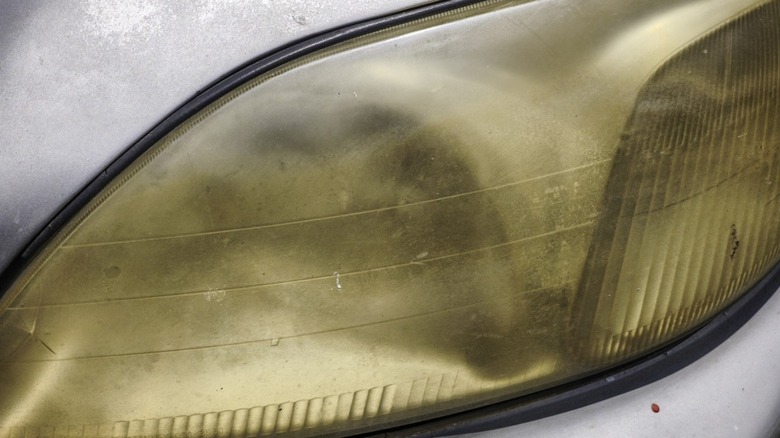
Did you know that the finish on headlights may last just 3 to 5 years, depending on the surrounding climate? That means it's possible for every part of your car to still look relatively new, except for your headlights. Headlight lenses get yellow and hazy as they oxidize and age. The good news is that there's something you can do about it, short of replacing the lenses altogether.
Headlight restoration kits are designed to get rid of most of that haziness and return your headlights to close to their original luster. But not all kits are equal, and it's important to choose the right one for a long-lasting shine. You'll want to make sure it has all the necessary equipment, especially multiple grits of sandpaper and a UV coating.
The headlight restoration process is multi step, and all of the steps are important. That is especially true when it comes to the prep work. You'll need to make sure your lens is clean and free of dirt and debris before you start the actual restoration work. You'll also want to carefully tape around the headlight lens to protect the surrounding area. After that, you'll need to sand the lens multiple times, gradually moving from coarse sandpaper to finer sandpaper. Then, carefully apply the UV clear coat. Follow all of the directions on the package, and don't skip any steps. With patience and attention to detail, you can get some good results.
Begin by choosing the right headlight restoration kit
The first step in figuring out which headlight restoration kit to get is to determine whether a kit will actually help in the first place. You may need to replace the headlight housing instead. Is there condensation, clouding, bubbling, or peeling on the inside? The restoration kit won't help, since it can only restore the outside surface. Besides, internal damage means you likely have cracks or a broken seal. Replacing the housing is the right option in this case. The same can be said if there are deep cracks or pits, or if the plastic surface of the lens underneath the coating is discolored or damaged.
So, you've done your inspection and have decided that a restoration kit is the right way to go. How do you choose one? One thing to look for is what kind of UV protection the kit provides. The quick spray-on-and-wipe kind of kit is not designed to last very long, and it doesn't properly replace the UV coating. The same can be said of home remedies like cleaning headlights with baking soda.
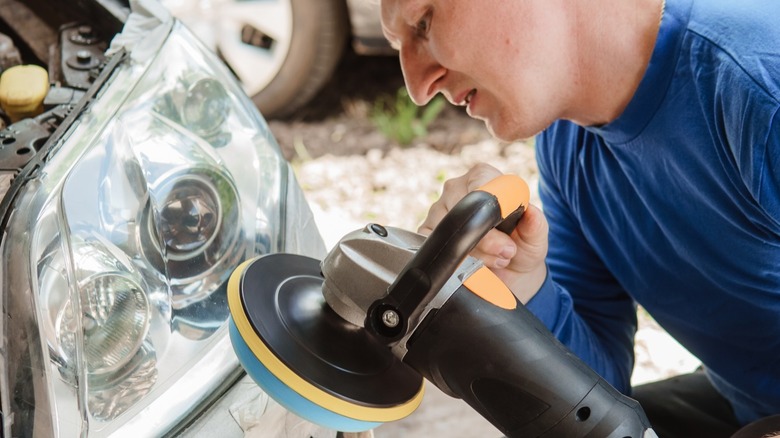
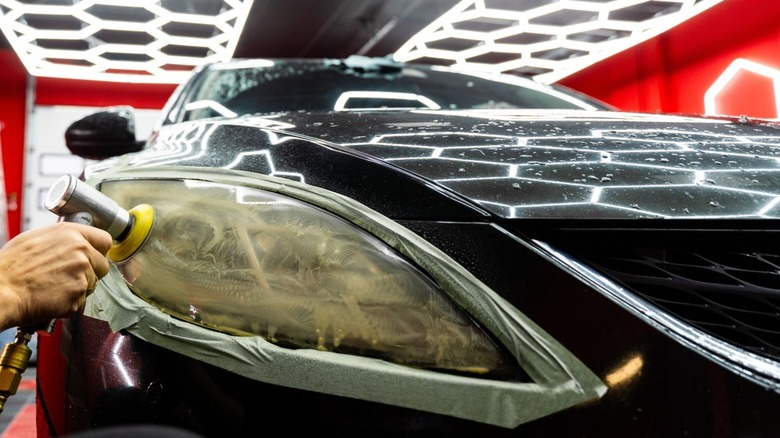
How handy you are with a power drill is another factor to consider. Some kits come with sanding pads that attach to a drill, while others have sandpaper that you're supposed to use with your hand. One is faster, and the other takes more elbow grease. Also, if you use a drill, you're more likely to mess up the surrounding paint.
Carefully prep the lens and car

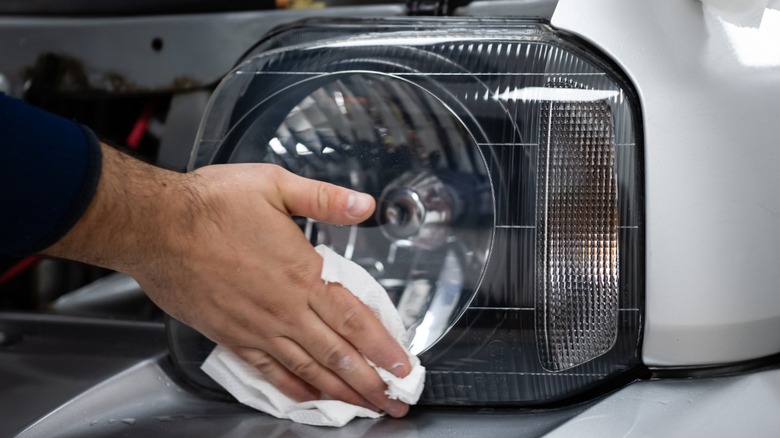
Just about every restoration kit manufacturer says to clean your headlight lens before beginning. Sylvania says to start with a clean dry lens. The very first bullet point listed in the directions on the Rain-X website, before it even gets to Step 1, says to clean the headlight lens. It's also the first step in 3M's directions. You can use water or glass cleaner to get the dirt off. It's important, because dirt or debris can cause scratches when you sand the lens.
You'll also want to get out the masking tape. Why? This is to protect the surrounding paint from getting damaged by the sandpaper. It is especially important if you're using a drill or an orbital sander, as it's harder to be careful and precise. But masking is a good idea even if you're sanding by hand. 3M says to use two layers of tape. Another trick is to open the hood and keep it open while you're sanding. Then, you don't have to worry about damaging the paint on the hood. Some will also cover the engine in order to protect it from the plastic dust that comes off during sanding.
The masking tape will have its best chance of staying stuck to the surface around the lens if you clean the lens and the surrounding areas thoroughly, which is another reason why that step is so important. Every step in the process enables you to perform the next step properly.
Sanding and Polishing
The first goal after prepping is to take off the old UV coating and corrosion. Read the instructions from the kit manufacturer, since some kits include a polish to get this started. Sylvania's kit includes an activator, which should take off much of the coating and yellow stain.
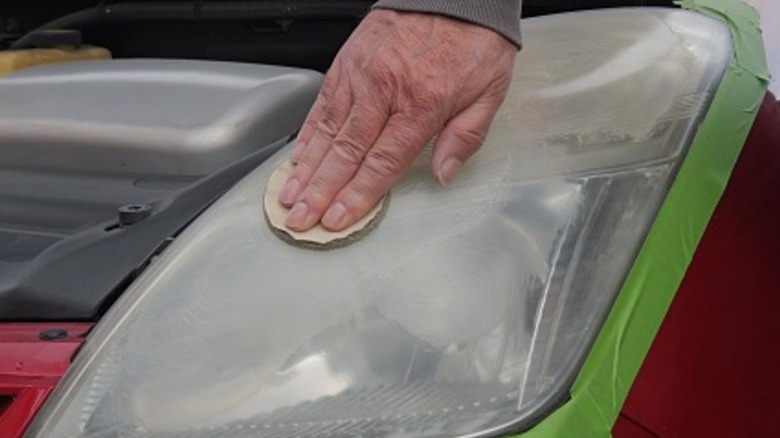
After applying the activator or polish (if applicable), it's time to start sanding. A kit generally has multiple pieces of sandpaper, coming in different grit counts, from coarse to fine. Each of the finer pieces of sandpaper are used to remove the scratches left from the piece before it. Start with the lowest number, the coarsest, gradually working to the highest number, the finest. When using Sylvania's kit, you would start with the 400 grit sandpaper and gradually work up to the 2,000 grit. You should do this with the sandpaper and the lens wet, using a spray bottle to wet the lens as you go. Sylvania says that the lens should have a uniform white haze to it with no yellow or clear spots before switching from the 400 grit sandpaper to the next one. Some kits ask you to complete the sanding process by rubbing on a compound that removes the final scratches.
Now, apply the UV coat, according to the instructions on the package. Some recommend rubbing the UV coat in overlapping crosshatching motion until the lens is evenly and completely covered. Allow however much time for the coat to cure, as indicated by the instructions.
Common mistakes
The less patient among us may feel like skipping steps or rushing through them. Fight that urge. Take your time to properly prep the lens. It may seem like a hassle, but it's not as big of a pain as having to repair paint damage later. Less than ideal results happen when folks rush through the steps or skip some of them. Another mistake that is easy to make is not being careful enough about the taping. It doesn't take much for sandpaper to cause some unsightly scratches on paint.
Another mistake that many make is to cheap out on materials by using household items to restore the headlight lens. Do not use toothpaste or bug spray. These materials don't restore your headlights. And cleaning your lens without a kit won't install a new layer of UV protection.
What if the job doesn't turn out quite like it should? If the finish comes out streaky or hazy, wait for it to cure completely, maybe giving it a few days. Then, take your finest piece of sandpaper and gently sand the whole lens. Reapply the coating, making sure to rub it on evenly. After you've restored your headlights, you can help the coating last longer by parking out of the sun, if possible, and waxing the headlights when you wax the car, which you should do every 2 to 6 months. If you're careful and take your time when using the restoration kit, you can end up with some clear, shiny headlights.
How headlights get that way in the first place
Do you remember how your headlights looked when your car was brand new? They were probably crystal clear and very bright. What a difference a few years can make. After a while, they start to turn yellow and cloudy, really bringing down the appearance of your car. More importantly, headlights that have deteriorated only shine about 22% as brightly as when they were new.
How do they get that way? Most headlights are made of polycarbonate plastic, which needs to be protected. So, a thin coating that is designed to shield from UV rays and scratches was applied to the lenses. But the sun is relentless. After it has beat down on your car for long enough, the coating will degrade from the UV exposure. That results in the yellow, cloudy look. If the coating is worn enough, the surface of the lens may start to degrade as well. Other causes of foggy headlights include oxidation and road salt.
That's where a headlight restoration kit comes in. It's not really designed to clean the lens. It may contain some cleaner, and cleaning is an important part of prepping the lens. However, that's not its primary purpose. Rather, a quality kit is meant to take the worn coating off and replace it with another layer of UV protection. That's part of the reason a kit often includes sanding pads along with multiple other parts.