How To Get Old, Nasty Stains Out Of Your Car's Headliner
We may receive a commission on purchases made from links.
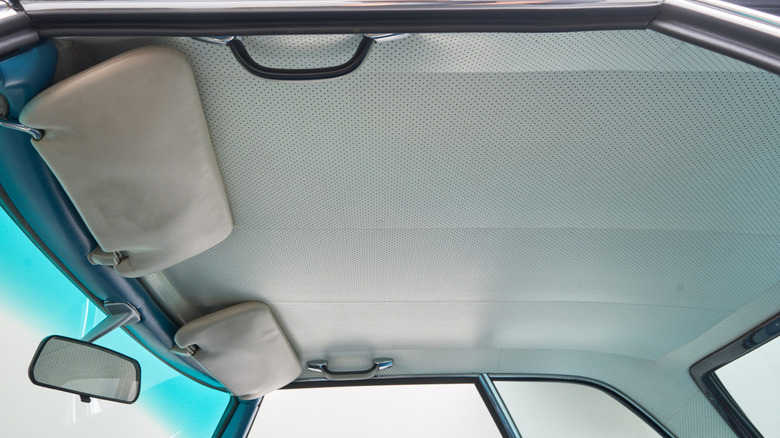
The headliner can be one of the most neglected parts of a car's interior and, admit it or not, doesn't get much love as the carpets, seats, console, or dashboard. They sit under the roof to insulate the cabin from noise, heat, and cold, but it's also an aesthetic part that could make or break the value of your ride.
Dust and dirt can gradually accumulate on the headliner, and things get worse if you smoke, have pets, leave dirty gym clothes in the backseat, or frequently eat inside the vehicle. Dirty fingers can also leave smudges, while it's not unusual to find makeup or lipstick stains on areas near or on the sun visors.
As if noticeable dirt and stains are not enough of an eyesore, the headliner fabric can absorb odors and stink up the interior. Cleaning leather or cloth seats frequently and vacuuming the carpets will go a long way in making your interior decent enough to live in, but ignoring the months or years of dust, dirt, and grime on the headliner can offset an otherwise spruced-up cabin.
I'm guilty as charged, as yours truly hasn't found the time (and patience) to rid my car's headlining of dirty finger marks after unclogging the sunroof drains and replacing the motor a few months back. The upside is that cleaning the headliner won't cost an arm and a leg in cleaning products. The downside is that nobody said cleaning the headliner is a walk in the park. The damn thing is above you and spans the entire roof, for starters, and you'll most likely strain your arms to reach the dirtiest parts.
The headliner requires gentle cleaning
To get an idea of how to clean your car's headliner properly, it's best to know what you're dealing with. It's typically a fabric and foam-backed panel made from enriched fiberglass or cardboard and wood on older cars. Almost everything is held with glue, and the sandwiched foam can retain moisture easily, which means there's a danger of messing up the entire thing with the wrong cleaning methods.
The delicate nature of a cloth or vinyl headliner also means that heavy rubbing, scrubbing, or agitation will most likely damage the material and cause the headliner to sag, making it look worse than before. It's why spraying soapy water or liquid cleaners directly on the headlining should be avoided, and blotting out deep-seated stains is preferred to intense scrubbing.
Of course, the cleaning methods would depend on whether your car's headliner has a fabric or vinyl trim. Before proceeding, park the car in a shaded area, preferably away from direct sunlight unless you like sweating like you're in a sauna. Crank down all the windows, if possible, for adequate ventilation and faster drying.
How to clean fabric headliners

Fabric headliners are more delicate to clean. Oversaturating may cause the glue to degrade and loosen its bond with the fabric and the foam beneath, which may cause sagging and permanent damage. It's why experts don't necessarily recommend intensely cleaning a 10-year-old or older fabric headliner, so as not to risk the glue from unsticking or separating the materials.
The first step to clean and restore your car's fabric headliner is to vacuum it thoroughly to remove loose dirt and dust. Next, grab a cleaning pad like the MAQIHAN Microfiber Detailing Sponge or the SUDS LAB DS Microfiber Detailing Scrub and a dedicated interior foam cleaner like Turtle Wax Power Out! Upholstery Cleaner or the Stoner Car Care Upholstery Carpet Cleaner.
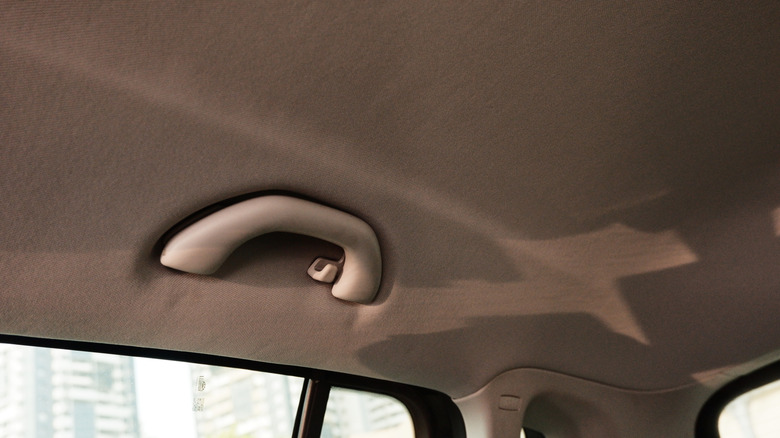
Sit inside the car, spray the cleaner on the cleaning pad until mildly damp, and wipe the pad on the headliner, gently working it side-to-side without exerting too much elbow grease. Start on the driver's side and work your way to the passenger side and the second row, cleaning one area at a time. While at it, don't forget to clean the sun visor and the A-pillar covers.
Finish it using a dry, microfiber cloth, wiping the area dry using gentle side-to-side motions to avoid stretching the fabric. It's good practice to check the cleaning pad periodically, rinse it with water, and wring it out if it gets saturated with dirt and grime. Do this before starting on a new section of the headliner to prevent spreading dirt.
How to clean vinyl headliners

Vinyl headliners are easier to clean than fabric. It doesn't absorb or hold too much dirt like fabric or cloth, and it's more resistant to aggressive scrubbing and moisture damage. It won't need specialized chemicals, either, since you can use the same cleaners for fabric.
The first step is to grab a damp microfiber cloth and give the vinyl headliner an initial wipe to remove standing dirt. Next, spray the cleaner on a cleaning pad and wipe the headliner using small, circular motions. Again, you can start on the driver's side and work your way towards the second row.
The final step is to wipe it dry using a separate microfiber towel before the area gets dry. In some cases, you may need to clean the headliner twice to eliminate all dirt and grime. Give each area a second pass after wiping it dry until you're happy with the results. Vinyl is not as delicate as fabric headliners, but it still helps to take it easy as you wipe.
How to remove stains on the headliner (including chewing gum)

Stubborn grease marks or cosmetic stains on the headlining may require spot-cleaning to remove. You can do this by saturating the cleaning pad with your preferred interior cleaner and blotting the sponge directly over the stain, dabbing it gently and repeatedly to work the cleaner into the material. Repeat using a cleaner section of the sponge and gently wipe the area dry with a clean microfiber towel.
Meanwhile, you can use a lint roller to rid the headlining of lint or bits of fabric after cleaning. And in case you find chewing gum on your car's headliner, do not scrape it out. You'll risk pulling out bits of the fabric, leaving behind a nasty eyesore. Instead, put some ice cubes in a small zip-lock bag or use an ice pack to "freeze" the gum, making it easier to peel off. Keep icing the gum for about two to five minutes, wait for it to harden, and peel it off.